Capturing the Northern Lights: A Photographic Adventure Guide
Understanding the Northern Lights: Nature's Light Show
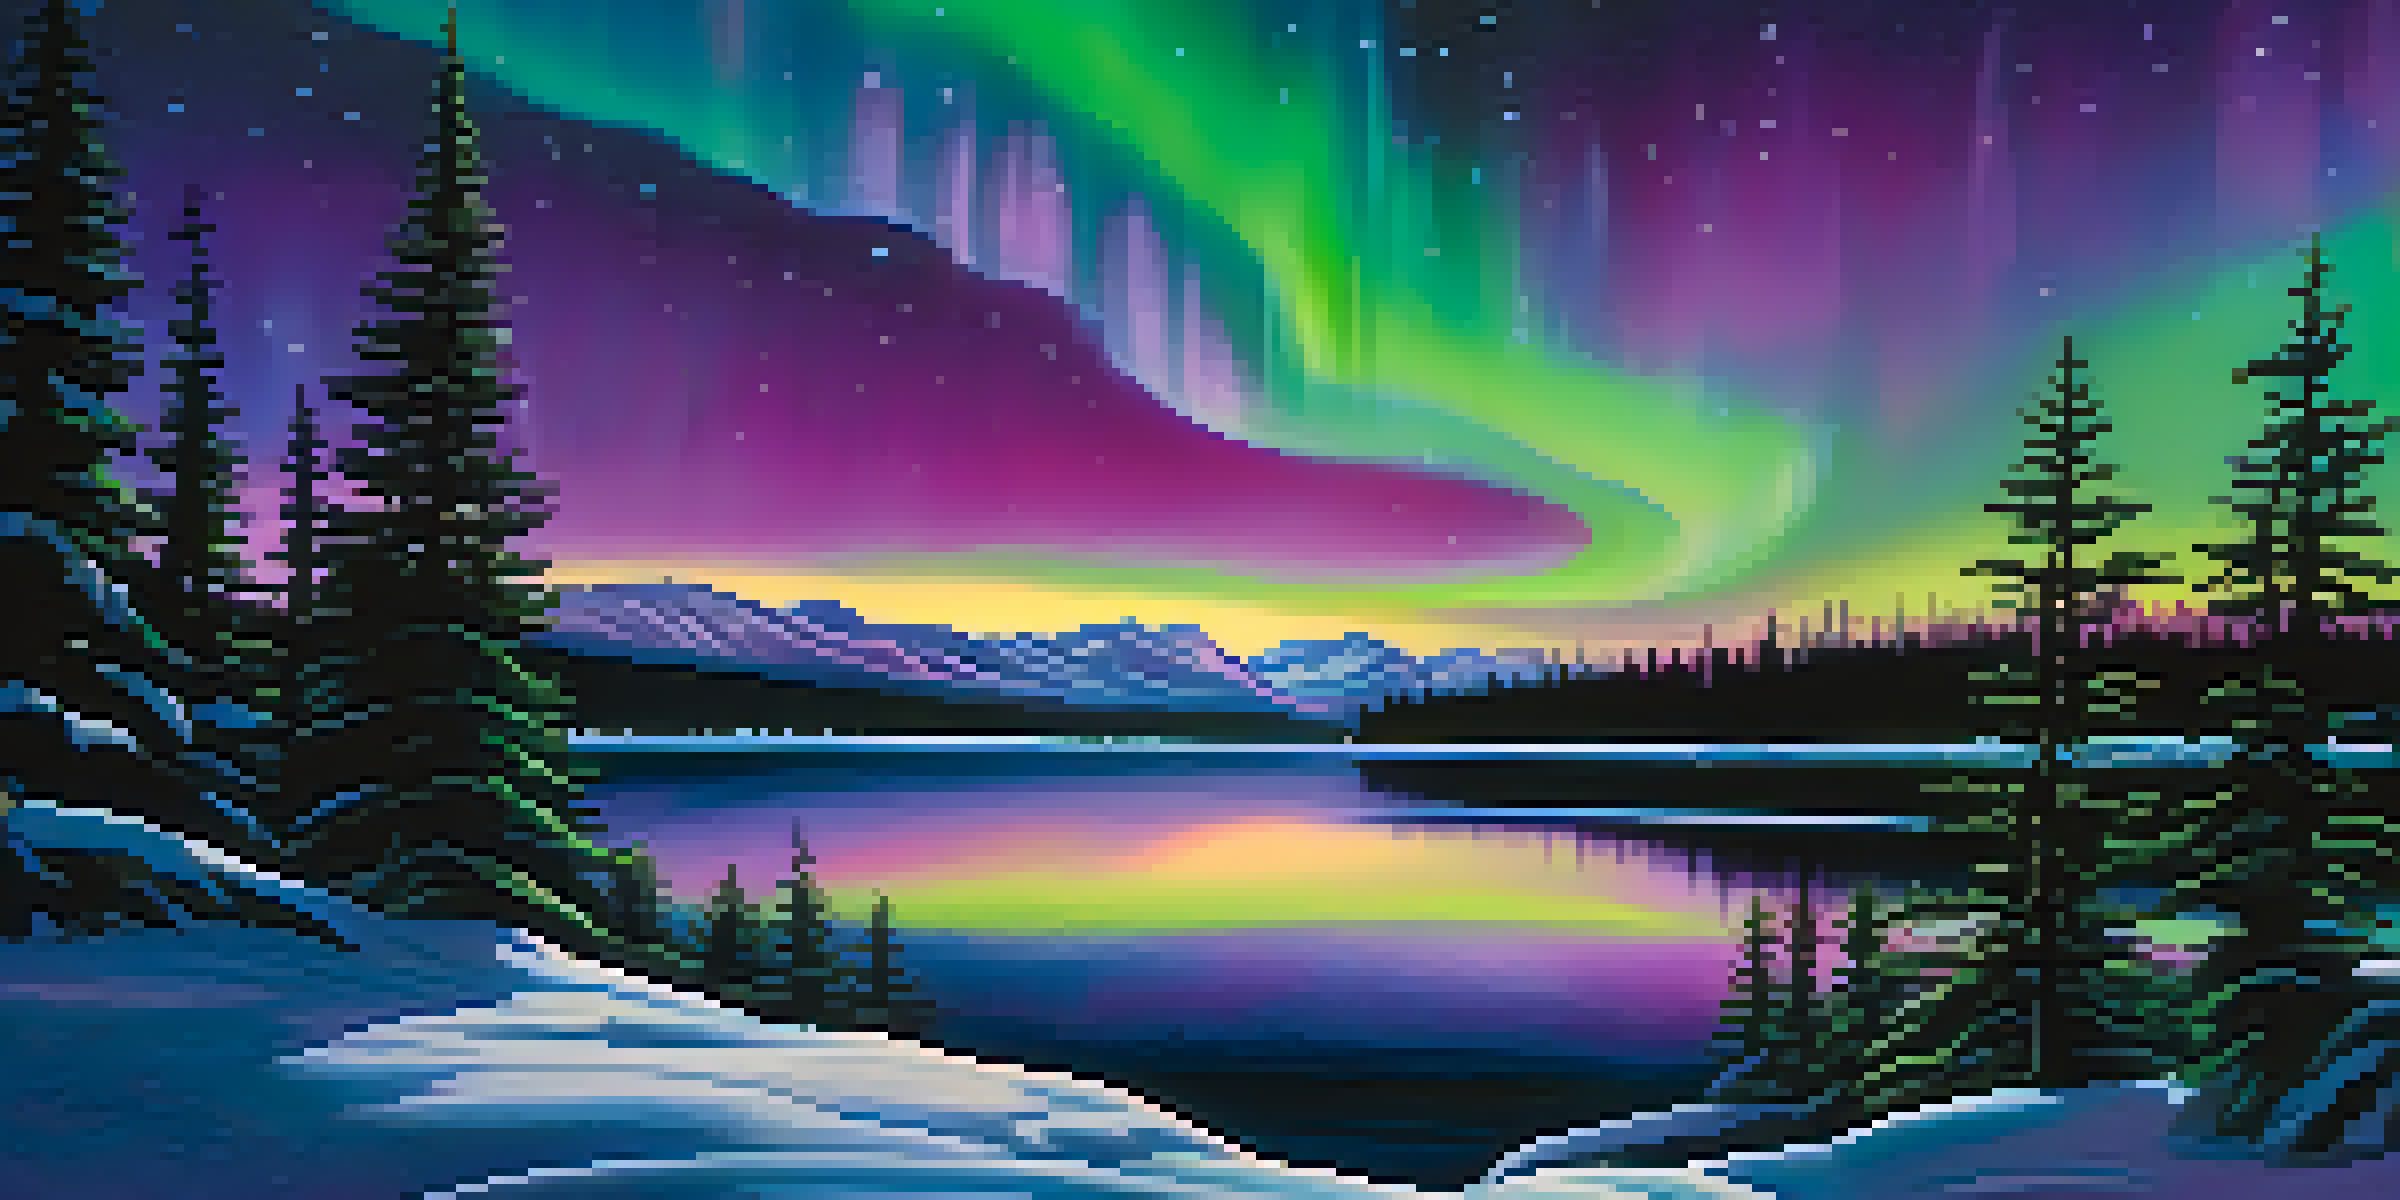
The Northern Lights, or Aurora Borealis, are a stunning natural phenomenon caused by solar winds colliding with Earth's atmosphere. These colorful displays can range from vivid greens to deep purples, captivating anyone lucky enough to witness them. Understanding this spectacle's science can deepen your appreciation and enhance your photography skills.
The northern lights are a gift from the universe, a momentary glimpse into the wonders of our world.
The best time to see the Northern Lights is during the winter months in locations close to the Arctic Circle. Places like Alaska, Norway, and Canada are often considered prime spots. However, it's essential to monitor solar activity and check forecasts, as this influences the intensity and visibility of the lights.
Capturing the essence of the Northern Lights requires patience, as they can be unpredictable. But with the right preparation and knowledge, you can turn this natural wonder into breathtaking photographs.
Essential Gear for Northern Lights Photography
When gearing up for your Northern Lights adventure, having the right equipment is crucial. A DSLR or mirrorless camera with manual settings is ideal for capturing the lights. Don't forget to bring a sturdy tripod to stabilize your camera during those long exposure shots.
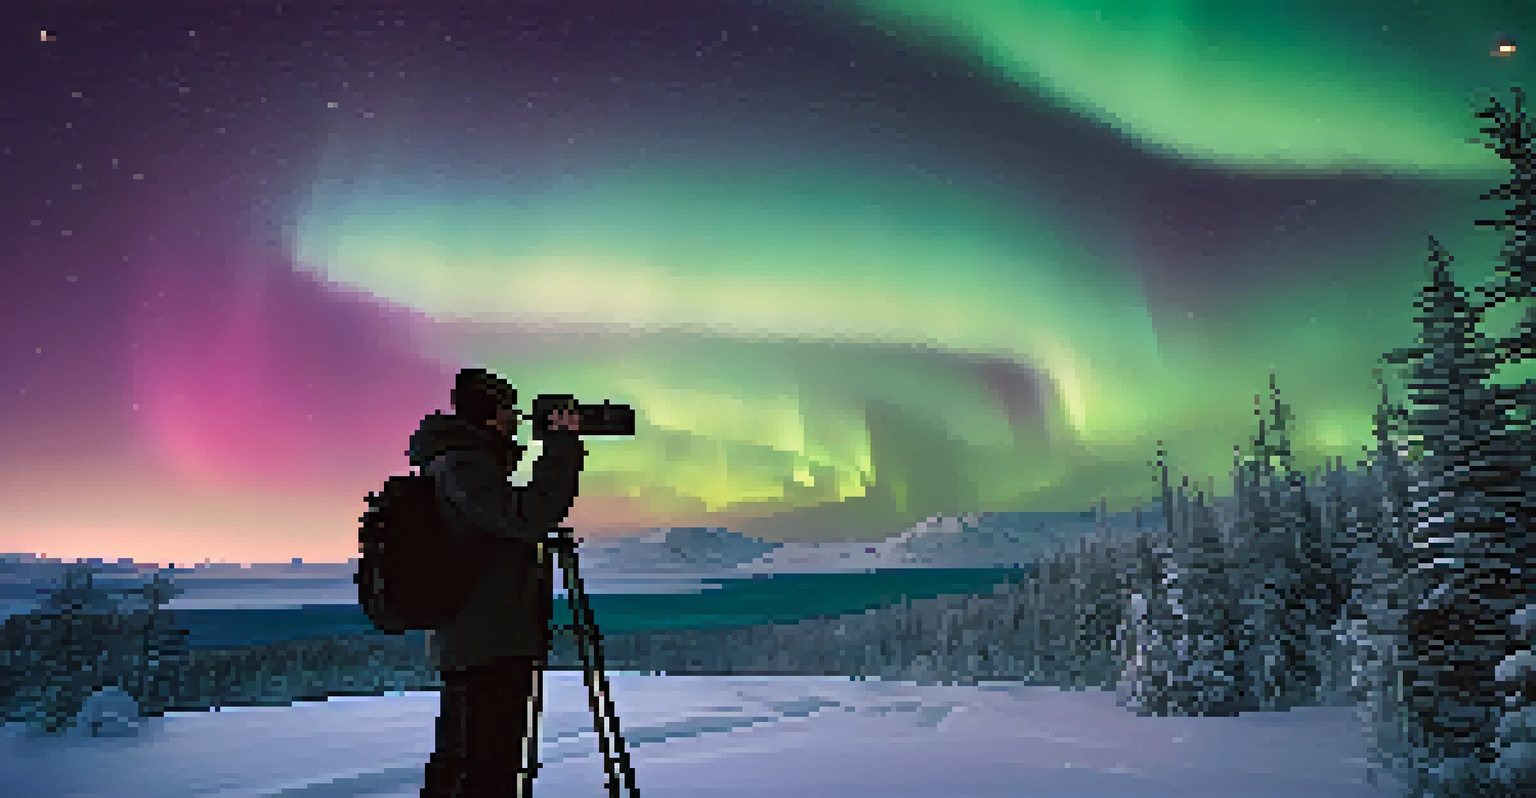
Additionally, a wide-angle lens with a low f-stop (like f/2.8) will help you capture more of the sky and allow more light in. A remote shutter release or timer can also be useful to avoid camera shake when snapping photos. Lastly, pack extra batteries; the cold can drain them quickly!
Best Times and Places for Viewing
The Northern Lights are best viewed during winter months in locations near the Arctic Circle, such as Alaska, Norway, and Canada.
While a good camera is essential, don’t overlook the importance of warm clothing. You’ll be spending long hours outside in potentially frigid temperatures, so thermal layers, gloves, and a warm hat will keep you comfortable and focused on capturing the moment.
Finding the Perfect Location to View the Lights
Choosing the right location is key to witnessing the Northern Lights. Look for areas with minimal light pollution, as city lights can obstruct your view of the sky. National parks or remote locations in northern regions often provide the best vantage points.
Photography is the story I fail to put into words.
Researching local aurora forecasts and weather conditions can also guide your location choice. Websites and apps dedicated to aurora tracking can give you real-time updates on solar activity, increasing your chances of success. Consider joining local photography tours as they often know the best spots.
Once you’ve found your location, take some time to explore and familiarize yourself with the surroundings. This way, you can find the best angles for your shots while enjoying the breathtaking scenery, setting the stage for an unforgettable photography session.
Mastering Camera Settings for Night Photography
Capturing the Northern Lights requires specific camera settings to achieve stunning results. Start by setting your camera to manual mode, allowing you to adjust the shutter speed, aperture, and ISO according to the conditions. A good starting point is an aperture of f/2.8, a shutter speed between 5-30 seconds, and an ISO of around 800 to 3200.
Experimenting with these settings can help you find the perfect balance for your shots. Keep in mind that longer exposures may capture more light but can also lead to star trails. If you want sharp stars, aim for shorter exposure times and consider using a higher ISO instead.
Essential Gear for Photographers
A DSLR or mirrorless camera, sturdy tripod, and warm clothing are crucial for successfully capturing the Northern Lights.
Don’t forget to use the camera’s live view mode if available. This feature allows you to frame your shot and focus accurately in the dark, ensuring you don’t miss any of the action overhead.
Composition Tips for Stunning Northern Lights Photos
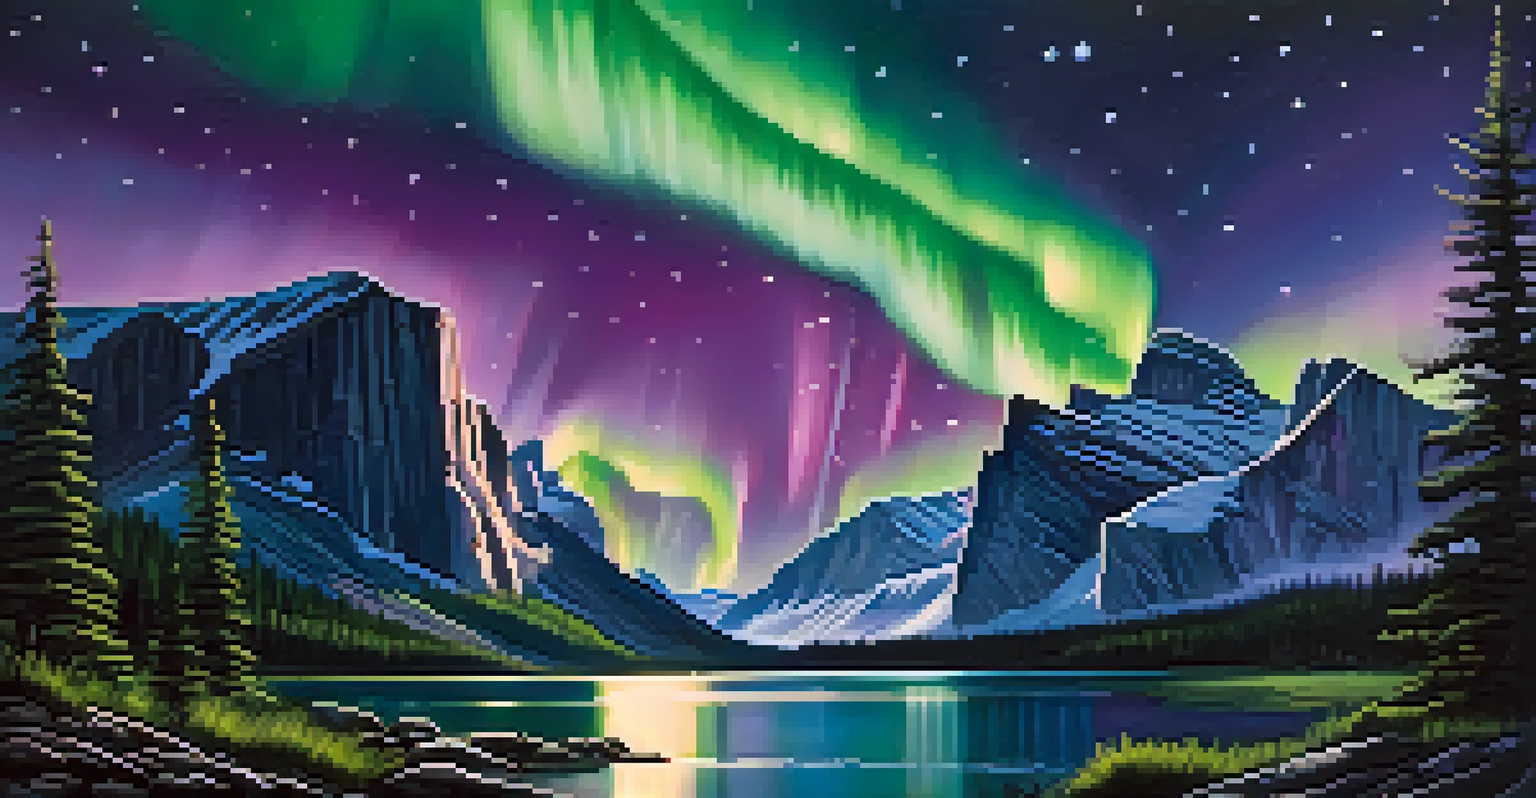
Composition plays a significant role in creating captivating Northern Lights images. Incorporating foreground elements, like trees or mountains, can add depth and context to your photos. This technique helps to frame the lights and makes your images more visually engaging.
The rule of thirds is a handy guideline to keep in mind. By positioning the horizon in the top or bottom third of the frame, you can create a more balanced and appealing composition. Experimenting with different angles and perspectives can also lead to unique and memorable shots.
Don’t be afraid to get creative! Capture reflections in water or include interesting textures in the foreground. These elements can help make your photographs stand out and tell a story about your experience under the shimmering lights.
Post-Processing Your Northern Lights Photos
Once you've captured your stunning Northern Lights photos, post-processing can help bring out their full potential. Software like Adobe Lightroom or Photoshop can enhance colors, adjust exposure, and sharpen details. A little editing can turn a good photo into a breathtaking one.
Start by adjusting the white balance to ensure the colors appear true to life. The Northern Lights can have a wide range of colors, so tweaking this setting can make a significant difference. Additionally, consider increasing contrast and vibrance to make the lights pop.
Post-Processing Enhances Photos
Using software like Adobe Lightroom or Photoshop can significantly enhance your Northern Lights photos, bringing out vibrant colors and sharp details.
Don’t forget to crop your images if necessary, refining your composition further. With thoughtful editing, you can create images that not only capture the beauty of the Northern Lights but also evoke the emotions of the experience.
Sharing Your Northern Lights Experience with Others
After you’ve captured your Northern Lights adventure, sharing your experience can inspire others to embark on their own photographic journey. Social media platforms like Instagram or photography blogs are great places to showcase your stunning shots and connect with fellow enthusiasts.
When sharing, consider writing about your experience, including tips and tricks that helped you along the way. This not only adds value to your photos but also encourages engagement and conversation among your audience. You can also create a dedicated album to document your journey.
Additionally, consider submitting your work to photography competitions or galleries. This can provide recognition for your efforts and motivate you to continue exploring and capturing the beauty of the world around you.